Reference Photos
Choosing a reference photo is a critical step in creating a great portrait. The right reference photo can be the difference between a clear, detailed, artistic creation and a basic drawing. Clarity, pose, framing, and lighting are some factors that you should keep in mind when choosing a reference photo.
Clarity
The clarity of a photo determines how much detail and accuracy I will be able capture in your artwork. When selecting your photo, please make sure that all the features and details are clear in the photograph. Remember that I don’t know what the subject looks like and only have the photograph to draw an accurate representation of that subject. Choose a photo the clearly represents what the subject looks like in real life.
Pose
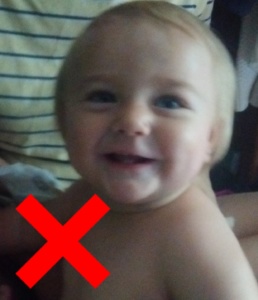
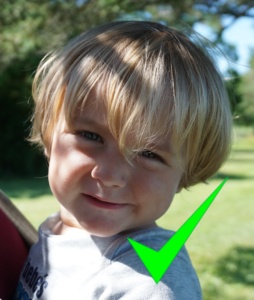
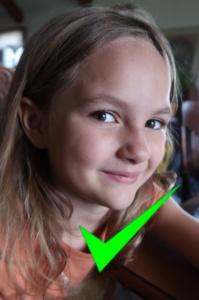
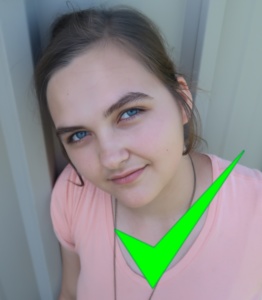
- Find ways to avoid having the subject face the camera straight-on and smile. Some ways to do that include using three-quarter views, having the subject look up or down, tilt his/her head, or turn his/her eyes away from the camera.
- If you want to use a straight-on photo, make it more interesting by using stark lighting.
- Try different expressions. While smiles are nice to draw, having the subject make a different expression can often bring out the artistic nature of a piece in different ways. Try small smiles, no smiles, laughing faces, or anything that is not a regular picture-taking smile for greatest artistic expression.
- Taking a picture from above or below can add interest and artistry to a photograph, which will translate into a more interesting portrait.
Framing
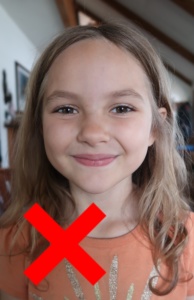
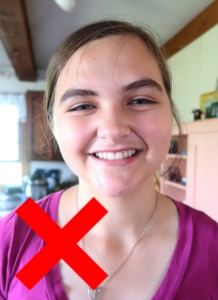
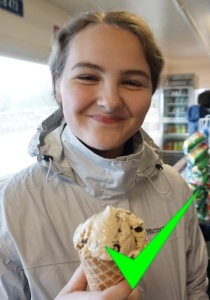
I am a portrait artist, so when you select your picture, avoid selecting one that is mostly landscape with a small human figure in the middle. Look for an up-close of a face or body, but avoid pictures that are so close that the sides of the face are cropped out.

Lighting
Lighting is an important element in beautiful artwork. Avoid pictures in which the lighting is dim or artificial. When ever possible, avoid reference photos that were taken with a harsh flash. The best lighting for portraits is natural light from the outdoors or from windows.
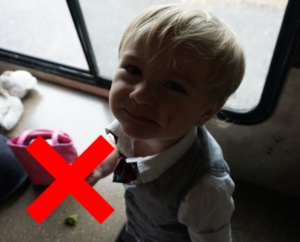
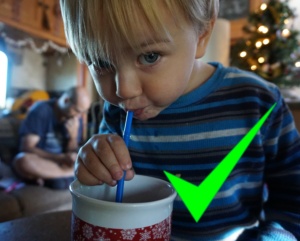
Of course, not every great reference photo will follow these rules. I use some reference photos that break some of my posing guidelines and still come out with a great portrait. If you have a photo that does not follow these guidelines but that you think would make a great painting, please feel free to ask about it. I’m eager to help you find the perfect picture for your beautiful portrait.